Resource Center / Playbooks / How to Develop a Slider in Webflow: A Complete Guide
How to Develop a Slider in Webflow: A Complete Guide

Sliders can be implemented in various ways, including using libraries like Splide, Swiper, or even custom-coded solutions. However, in this article, we will focus on the simplest implementation using Webflow's native slider component.
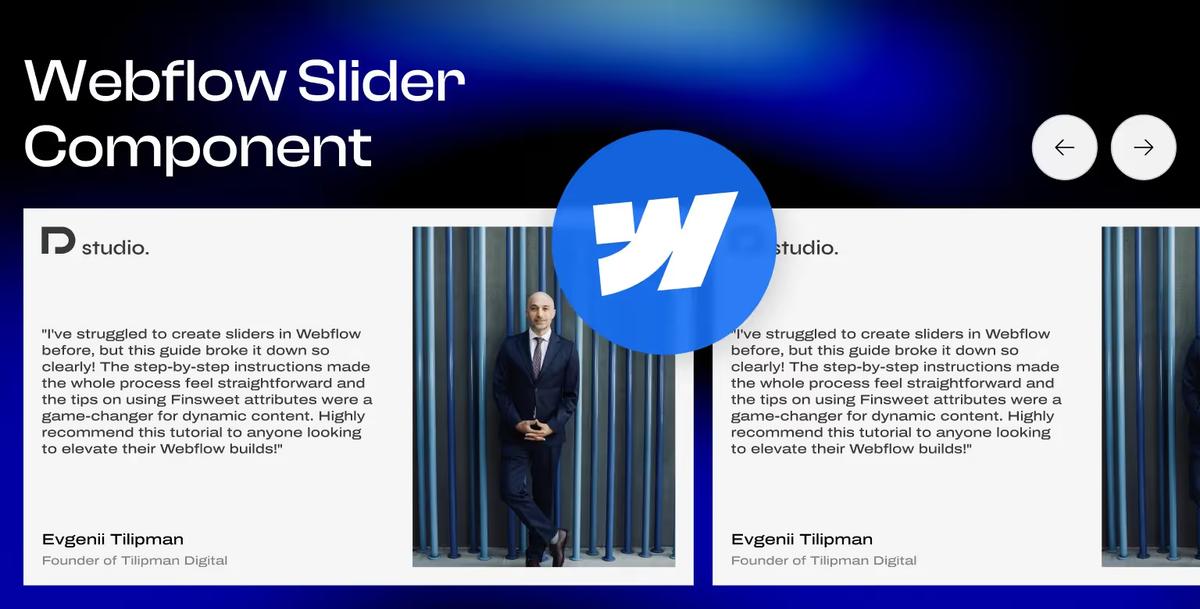
Sliders are a popular and dynamic way to showcase content on a website, and Webflow’s native slider component provides a powerful tool for creating them. In this guide, we’ll explore how to develop three types of sliders using Webflow’s slider component: static, semi-dynamic, and fully dynamic sliders. Follow along for step-by-step instructions to implement each slider.
Static Slider
Steps:
Step 1: Add a Section and a Container
Start by adding a section to your Webflow project and placing a container inside it for layout consistency.
Step 2: Add a Slider Element
Drag a slider element into the container. This will include the slider, mask, slides, arrows, and pagination.
Step 3: Style the Slider
If you're not sure how to manage styles in Webflow, we wrote a beginner guide teaching you how to use classes in Webflow.
If you already know how to do so, then continue by giving the slider a class .slider and style it with:
Step 4: Style the Mask
Create a random div and give it a class .mask with the following styles:
Delete the random div and apply the .mask class to the slider’s mask element.
Step 5: Style the Arrows
Assign a class .arrow-btn to both arrow buttons and add a combo class .is-prev to a button that should move the slider to the previous slide. Style .arrow-btn as follows:
Style the .arrow-btn.is-prev button:
Step 6: Adjust Slider Settings
- In the slider settings, disable infinite repeat slides.
- Hide PaginationGive the pagination element a class
.display-noneand style it to hide.
Step 7: Style the Slides
- Create a random div, assign it a class
.slide, and style it as: - Delete the random div and assign the
.slideclass to the slide elements.
Step 8: Populate and Style the Slides
- Add content to the first slide and style it as needed.
Step 9: Duplicate Slides
- Copy the first slide as many times as necessary and replace the content in each duplicate.
Semi-Dynamic Slider
Building a static slider is a prerequisite to creating both semi-dynamic and dynamic sliders. Ensure you have a fully functional static slider before proceeding with the steps below.
Steps:
- Copy the Static Slider SectionDuplicate the section containing the static slider.
- Adjust SlidesDelete all but one slide and add a combo class to remove padding from the remaining slide.
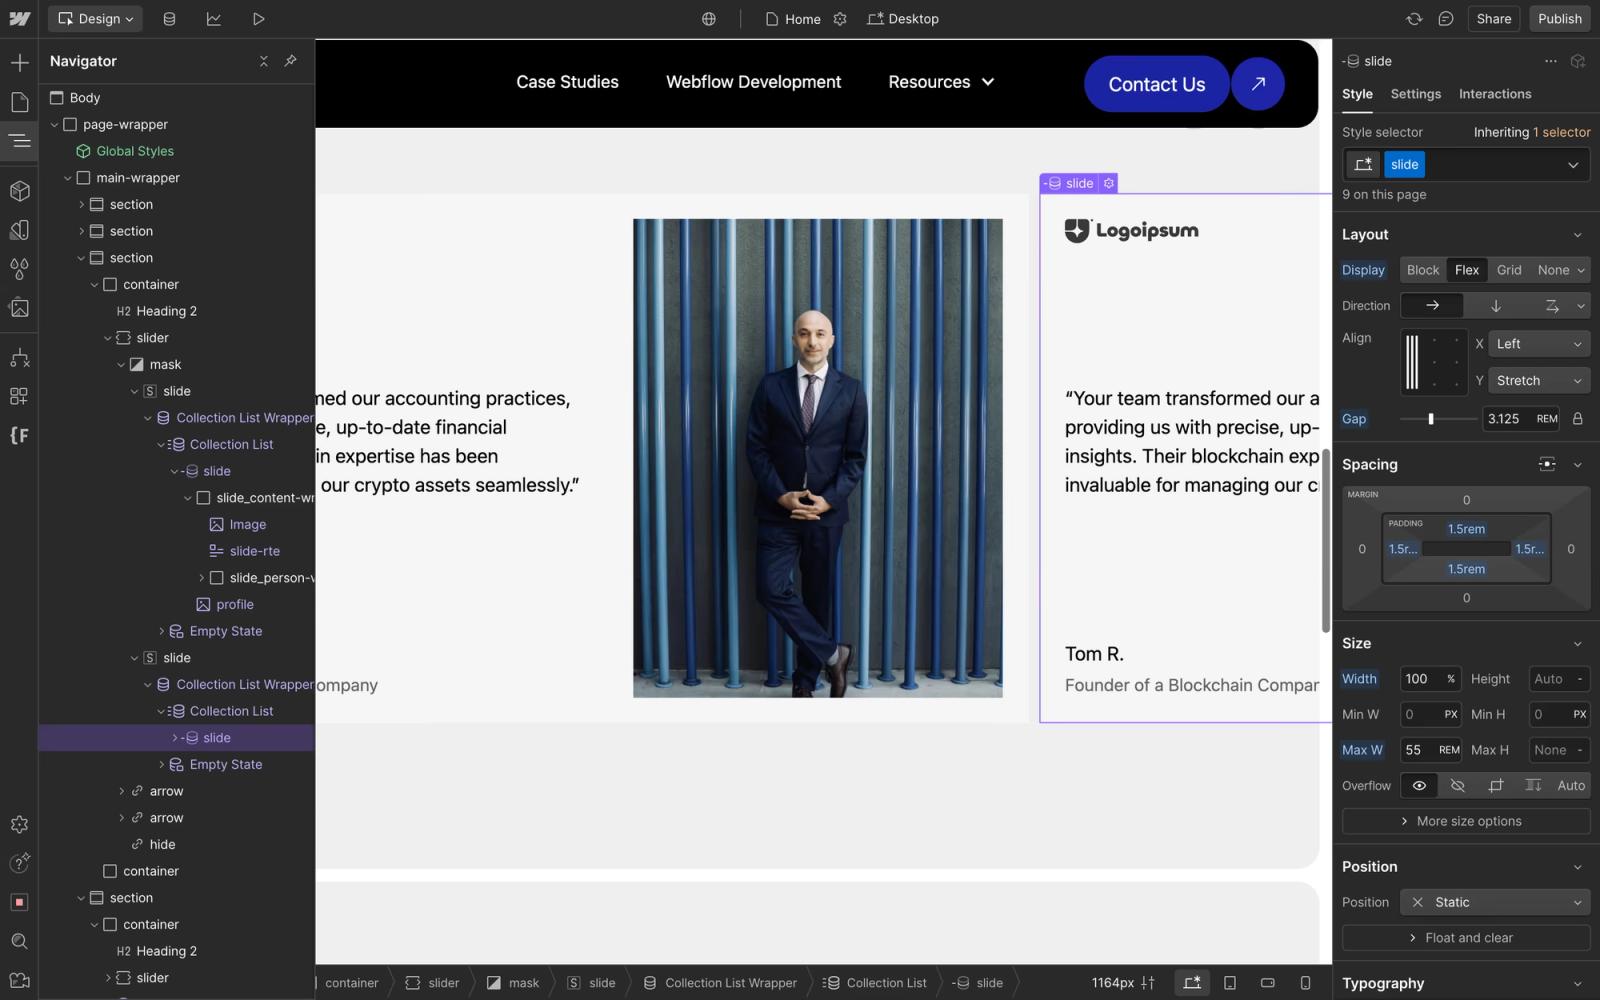
- Add a Collection ListAdd a collection list to the first slide with a limit set to
1and start at1. - Style the Collection ItemsAssign a class
.slideto the collection item. - Connect ContentCopy over content from the static slide and link it to dynamic fields within the CMS.
- Duplicate SlidesCopy the first slide and update the collection list to:Limit:
1Start at the next collection item (e.g.,2for the second slide). - Repeat for Additional SlidesRepeat the above steps for as many slides as required.
Dynamic Slider
A functional static slider is required before moving to a dynamic implementation. Complete the static slider setup and follow these steps for a fully dynamic slider.
Steps:
- Copy the Static Slider SectionDuplicate the section containing the static slider.
- Remove Extra SlidesDelete all but one slide and add a combo class to remove padding from the remaining slide.
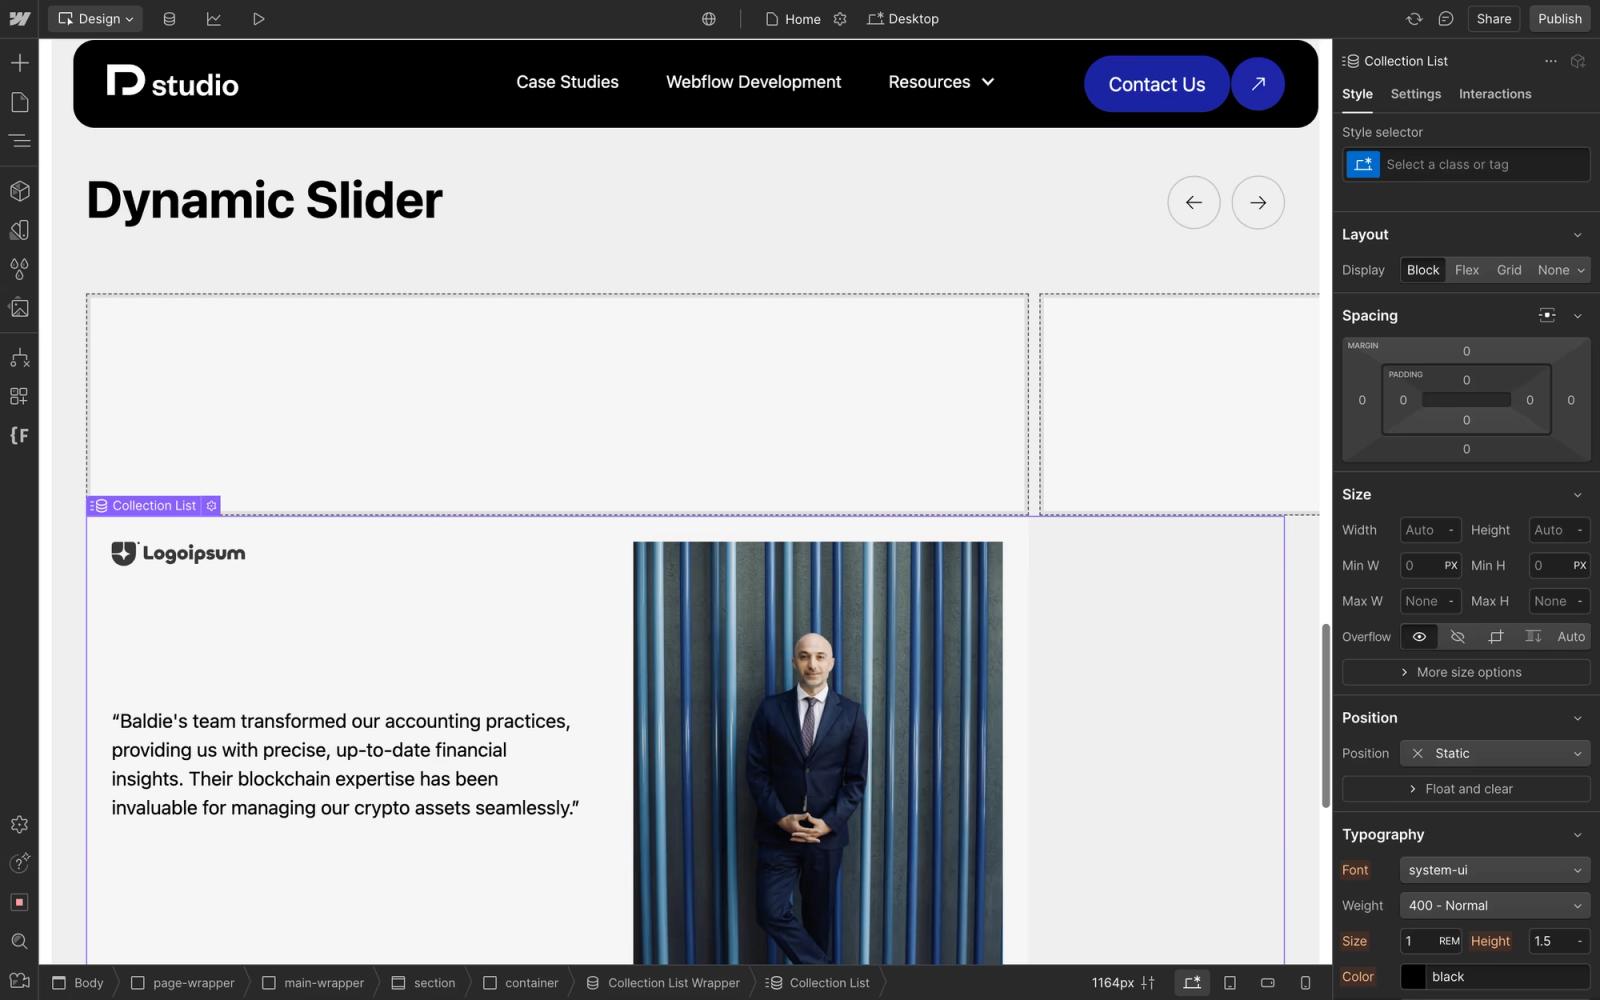
- Add a Collection ListPlace a collection list below the slider component and assign a class
.slideto the collection items. - Connect ContentCopy content from the static slide and link it to dynamic fields within the CMS.
- Integrate Finsweet’s CMS Slider AttributesOpen a new browser tab and navigate to Finsweet Attributes, searching for the CMS Slider solution.
- Embed the CDN ScriptCopy the CDN script provided on Finsweet’s page and add it to the page’s head section in Webflow settings.
- Add AttributesAdd the following attributes:
fs-cmsslider-element="slider"to the slider element.fs-cmsslider-element="list"to the collection list. - Publish the SitePublish your project and enjoy your fully dynamic slider.
Conclusion
Creating sliders in Webflow using the slider component is versatile and efficient. Whether you’re building a static, semi-dynamic, or fully dynamic slider, following these steps will help you craft engaging and interactive experiences for your website visitors.
For more advanced sliders, consider exploring third-party libraries like Splide or Swiper.js, which provide additional flexibility beyond Webflow’s built-in slider. If your goal is to create a smooth, infinite vertical scrolling experience, we’ve outlined a full implementation using Swiper.js in our Vertical Slideshow Guide.
To explore other advanced Webflow features, like dynamic filtering and pagination — see our guide on building an accessible filter and pagination system in Webflow with Finsweet Attributes.
For even more advanced sliders, consider exploring third-party libraries like Splide or Swiper, but Webflow’s native tools are powerful enough to meet basic needs. And if you can't seem to implement this or a more complex slider solution yourself, or team of Webflow development experts is here to help.

Evgenii Tilipman is the founder of Khod, a digital agency helping B2B tech companies turn their websites into demand-generating assets.
He works closely with founders and GTM teams to define positioning, structure high-converting pages, and build scalable Webflow systems that support growth.
Before founding Khod, Evgenii led Webflow development at an agency and worked with Memberstack to build products for the Webflow community. He has since supported teams from seed to Series C across positioning, conversion, and Webflow development.
Outside of work, he's a husband, dog dad, and someone who treats his health and long hikes with the same consistency he brings to his projects.
Table of Content


Kickstart your project today!
Book a call to discuss your goals and how we can help you reach them.
Share the Article
Explore More Playbooks
Technical SEO • Jul 30, 2025 • 6 min read
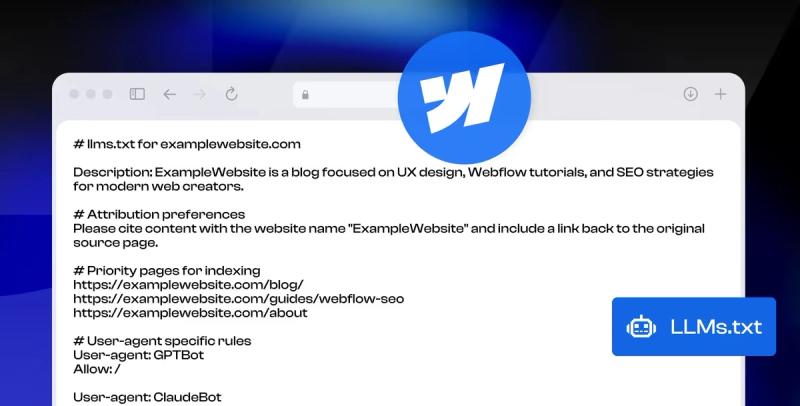
LLMs.txt Webflow Guide: Optimize Your Website for AI Search
Technical SEO • Jul 26, 2025 • 9 min read
Webflow Schema Markup: DIY Guide to Structured Data & SEO
Custom Code • Jul 2, 2025 • 7 min read
How to Build an Accessible Filter + Pagination in WebflowYour Next Deal Starts With Your Website
Most deals are won or lost before your sales team gets involved. Let's make sure your site is ready for that moment.
